How to install WSL 2: Best way to run real Linux on Windows!

Windows subsystem for Linux 2 – is a special virtual environment to run Linux apps on Windows, created by Microsoft. Before WSL 2 programmers used cygwin or git bash to run Linux programs, but assuming great compatibility with real Linux, simplicity of installation, and performance, the WSL 2 is a true game-changer that kills cygwin once and forever.
Thing is that when you run WSL 2 on your machine you can install any version of Ubuntu from Microsoft Store and it works like a real Ubuntu on Windows 10 (Only on the terminal side, GUI will not be touched at all), with good performance and without manual execution of virtual machines.
For example, you will be able to write in terminal:
sudo apt install mysql-server
And you will install a fully functional MySQL server on your machine. Same as on any Ubuntu with the same config location and format, e.g. /etc/mysql/my.cnf. You will have the same bash prompt as on your Ubuntu servers and all software including nodejs, python, and even docker containers will work the same. We talk only about software with a command-line interface without UI but UI is still on your windows including IDE.
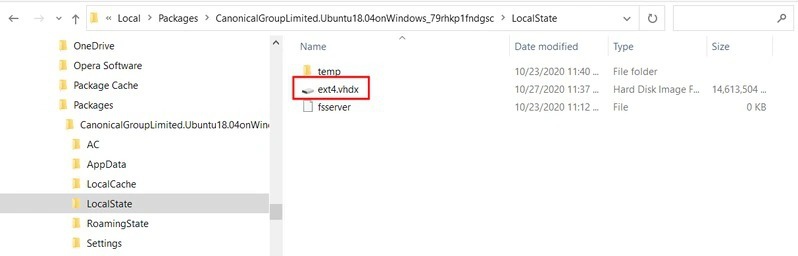
You will have good integration with Visual Studio Code - you will be able to access and manage the filesystem from WSL 2 and store all your projects there.
In the hint, I will explain the most simple and straightforward way to install WSL 2
To simplify your experience I used clear Windows 10 Version: 20H2, OS Build 19042 (To check the current version use Start ➡ Settings ➡ About ➡ Windows Specifications). The minimal required version for x64 platform is Version: 1903 with OS Build 18362 and newer. But anyway, before installing WSL I suggest you update the system.
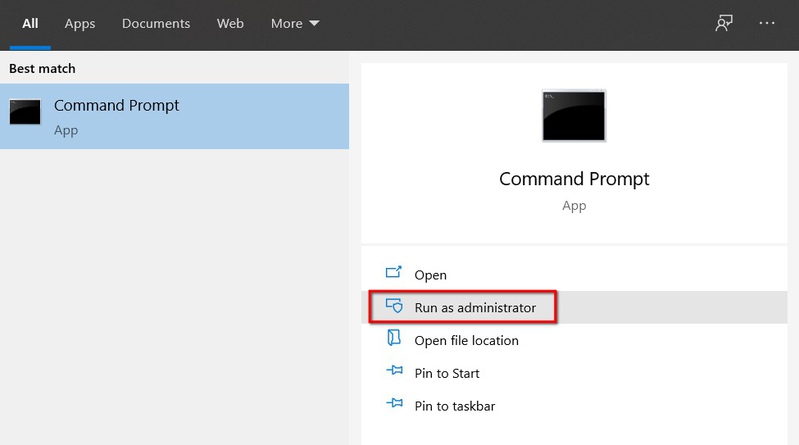
Step 1 – Enable Windows Subsystem for Linux 1
Run command line prompt from start menu from the administrator:
Execute a command which installs WSL 1:
dism.exe /online /enable-feature /featurename:Microsoft-Windows-Subsystem-Linux /all /norestart
📒If you will run this command from command line without administrator privilege you will receive an error Error: 740 Elevated permissions are required to run DISM. Use an elevated command prompt to complete these tasks.
In case of success you should see something like this:
| Deployment Image Servicing and Management tool | |
| Version: 10.0.19041.746 | |
| Image Version: 10.0.19042.746 | |
| Enabling feature(s) | |
| [==========================100.0%==========================] | |
| The operation completed successfully. |
If you want to use WSL 1, at this step you can restart the machine and go to the store to install Ubuntu. But I suggest you to to go ahead and install WSL 2 (so there is no need to restart the system now).
Step 2. Enabling VirtualMachinePlatform to run WSL 2
Now we're going to enable the windows virtual machine platform to run WSL 2. There was a time when it was called Hyper V, but in recent builds of Win10, it is called VirtualMachinePlatform. In the same command line execute:
dism.exe /online /enable-feature /featurename:VirtualMachinePlatform /all /norestart
When you will see The operation completed successfully – restart the system.
Step 3. Download and install Linux kernel for WSL 2 and set the preferred WSL version
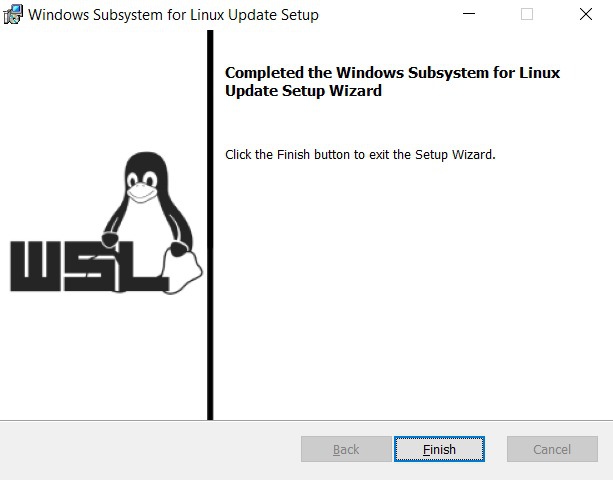
Download and install this MSI wsl_update_x64.msi .
📒 The link leads to official Microsoft website, you can validate it on Windows Subsystem for Linux Installation Guide for Windows 10 (in the Step 4 section)
📒 If you run Windows on ARM processor (happens very rately), use this link: wsl_update_arm64.msi
After successful installation you should see:
What is left is to make WSL 2 to be a default version for all newly installed distributions (Ubuntu is distribution). Run command line prompt form administrator and run:
wsl --set-default-version 2
In the output you should see:
| C:\Windows\system32>wsl --set-default-version 2 | |
| For information on key differences with WSL 2 please visit https://aka.ms/wsl2 |
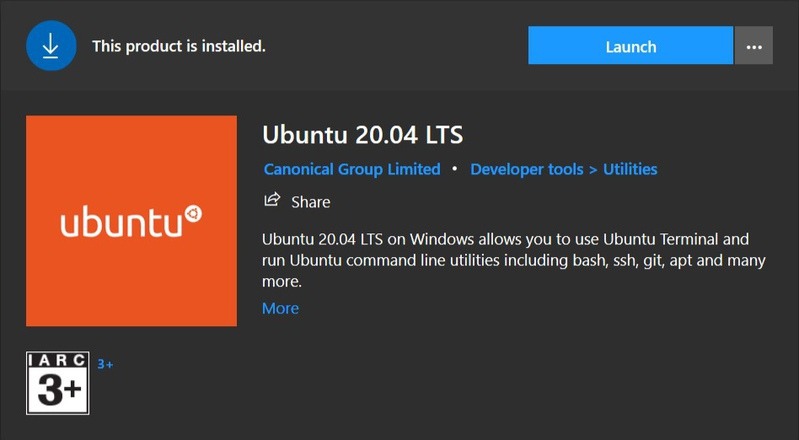
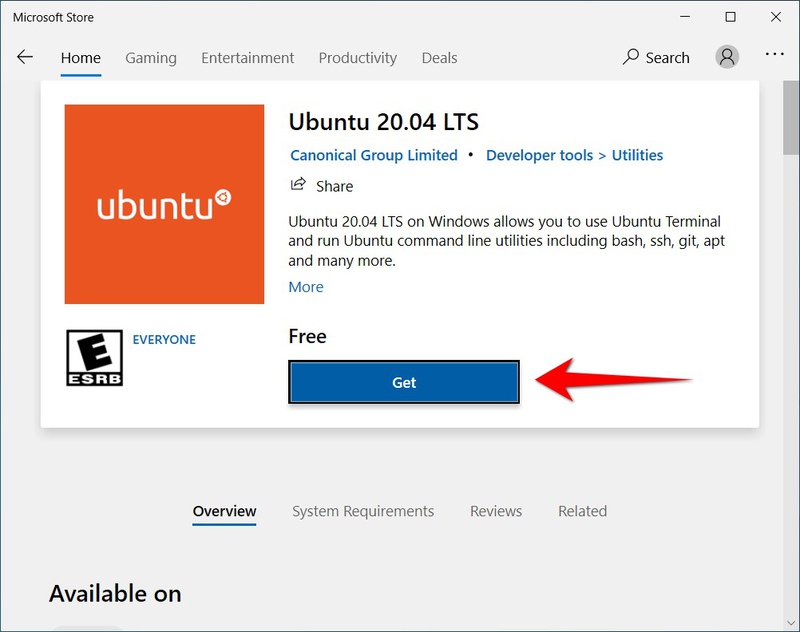
Step 4. install Ubuntu distribution from the Microsoft Store
Open store, search for Ubuntu (I used 20.04 LTS, the fresh software will be maintained up to 2022 year)
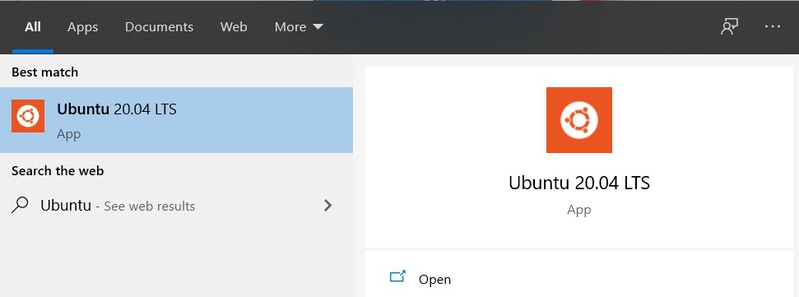
After installation, run Ubuntu from the start menu:
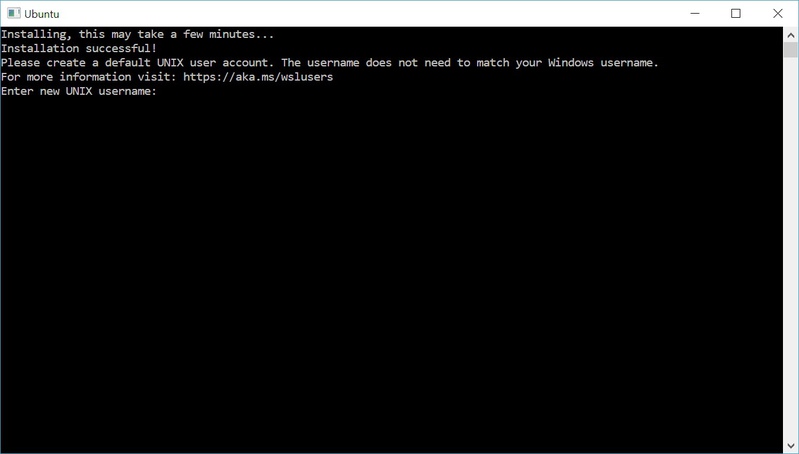
It might take several minutes to set up, then it will ask you to create a username and password for your Ubuntu:
I also recommend you check our WSL 2 starter must-read guide to avoid common pitfalls and several simple but important warnings which you should be aware of before working with WSL 2 to prevent performance issues.
Just in case, what if you received: WslRegisterDistribution failed with error
If instead of the screenshot above you received an error: WslRegisterDistribution failed with error: 0x80370102, Error: 0x80370102 The virtual machine could not be started because a required feature is not installed, then most likely you have disabled hardware virtualization in your BIOS. The option is called AMD VT or Intel VT, or something named CPU Virtualization. It is included almost in every BIOS on all notebooks and PCs. Just go to BIOS, search for it and enable
⚠️If after turning on VT in BIOS, you still expirience an issue, then try running bcdedit /set hypervisorlaunchtype auto start in a command line with administrator access and restart a system🙃If you are trying to run WSL 2 inside of Virtual Machine with Windows 10 from VirtualBox, you need to Enable Nested VT-x/AMD-V in the VBox serrings